E3 Simulator Instructions
How to use this thing
After signing up, you’ll receive an email at the email address you signed up with. This email contains a download link for the software, as well as your serial key. (you might want to save this email). Clicking the download link will download a setup.exe file, which you should run. This will get the simulator installed, along with any prerequisites, and launch it when finished.
Activation
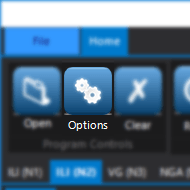
Once it’s open, you will need to activate it. This can be done by either clicking the text that says “Licence Inactive. Subscription expired or unable to verify. Please click here to activate.” or clicking “Options”, then “Licensing”. You can copy and paste the serial number from the email into the serial number box, then click activate (Internet Connection Required). You should get a message that says “Activation Successful!”, and all of the buttons on the ribbon should enable. That’s it! Now you’re ready to simulate! FYI: The simulator will verify it’s license every time it starts. Don’t worry, though, if you’re not online (like at a job site) as long as the license was verified within the last 30 days, it will work offline just fine.

Using The Software
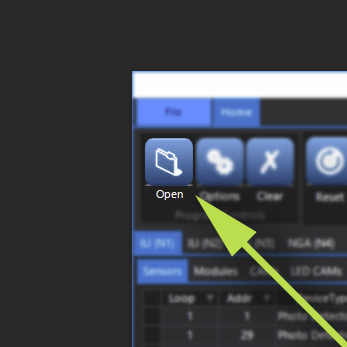
Now all you have to do is click “Open”, and select a program.
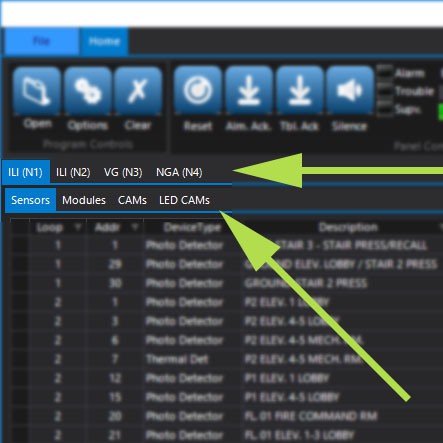
Now that the program is loaded, you’ll see each node in a tab, and under that, device type and CAM tabs. Find a device you want to test, and click that device’s Activate or Trouble button. The Activate button will fire that device’s input groups, and if the device is not a supervisory or NRNL type, also fire the node and regions general alarm bits, as well as node alarm pending bit. The trouble button will fire the devices input group trouble bits, as well as the node and regions general trouble bits and the trouble pending bit. If the device type is a supervisory device type, the devices groups will be fired, as well as the node and regions general supervisory bits and the supervisory pending bit. One slight difference from real world systems is that by clicking the Activate button again, you’ll restore the devices alarm groups, but the “panel” will stay in alarm. This behavior allows you to verify the device input groups for different devices, without seeing all of the general alarm activations, and in a faster manner. To clear the alarms, click the “Reset” button.
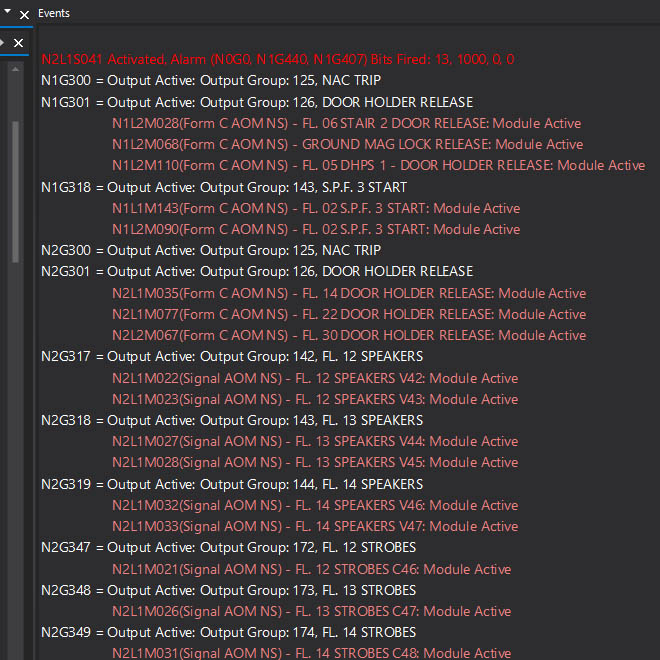
The events window on the right displays everything that is happening in the system. You’ll see each activation by output group, and if turned on, by output module. Events are color coded for easy comprehension, and you’ll see activations and de-activations in different colors, so you can easily see which outputs are affected by your actions.
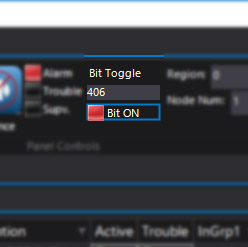
If you need to fire a bit that doesn’t have a module or sensor associated with it, you can use the bit toggle feature in the ribbon. Just enter any bit number, then click the button below the bit. This allows you to test CAMs which may reference bits like Ground Fault or AC Loss. The bit fired gets it node information from the Node dropdown in the ribbon.
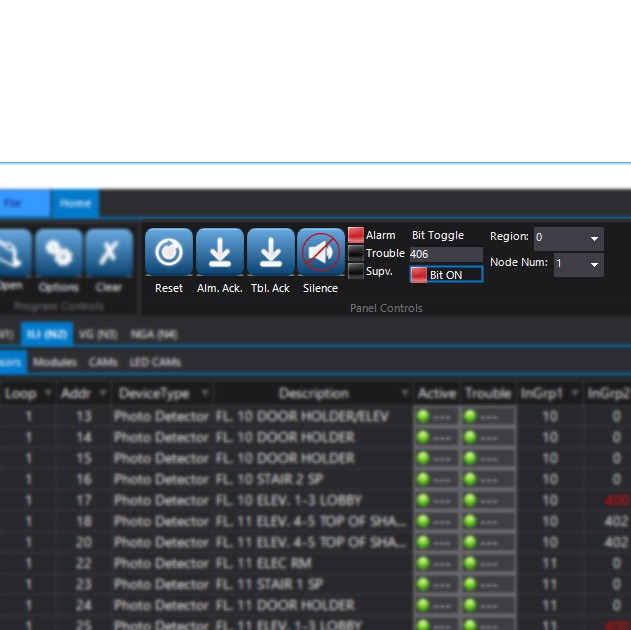
All of the panel buttons work with the node and region dropdowns, so you can send Acknowledge, Silence, and Reset commands from any node or any region. Alarm, trouble, and supervisory LEDs show if the panel is in alarm or not. You can also use the Clear button to clear the events window so you don’t need to look at all previous text.
The options menu gives you control over things like font size, whether to show output modules and even change the application theme. Some of these changes will require restarting the application to take effect. Also, your settings are remembered, so you won’t need to set them every time you open the program.